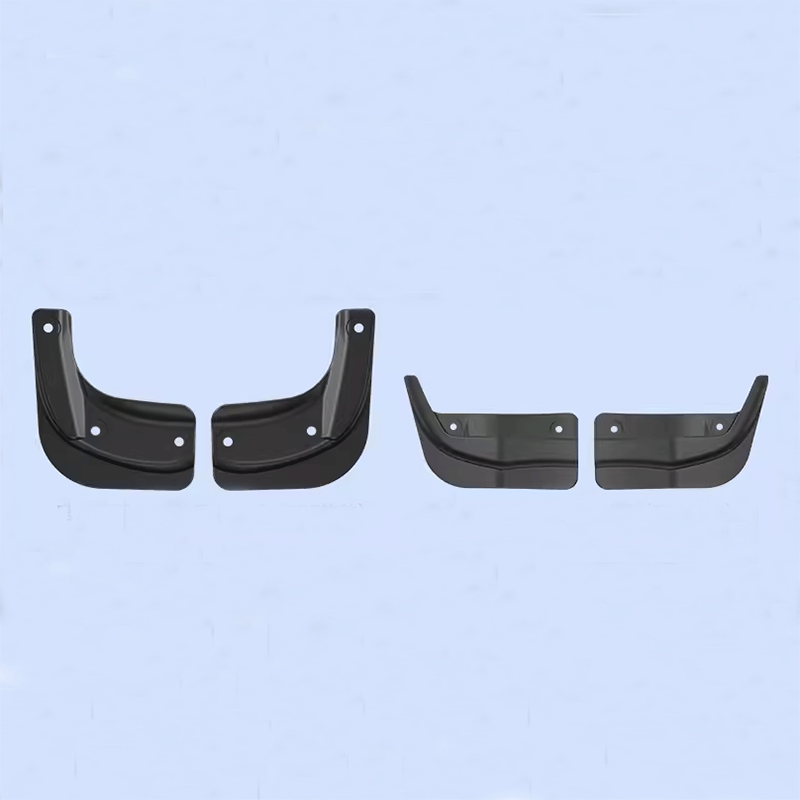
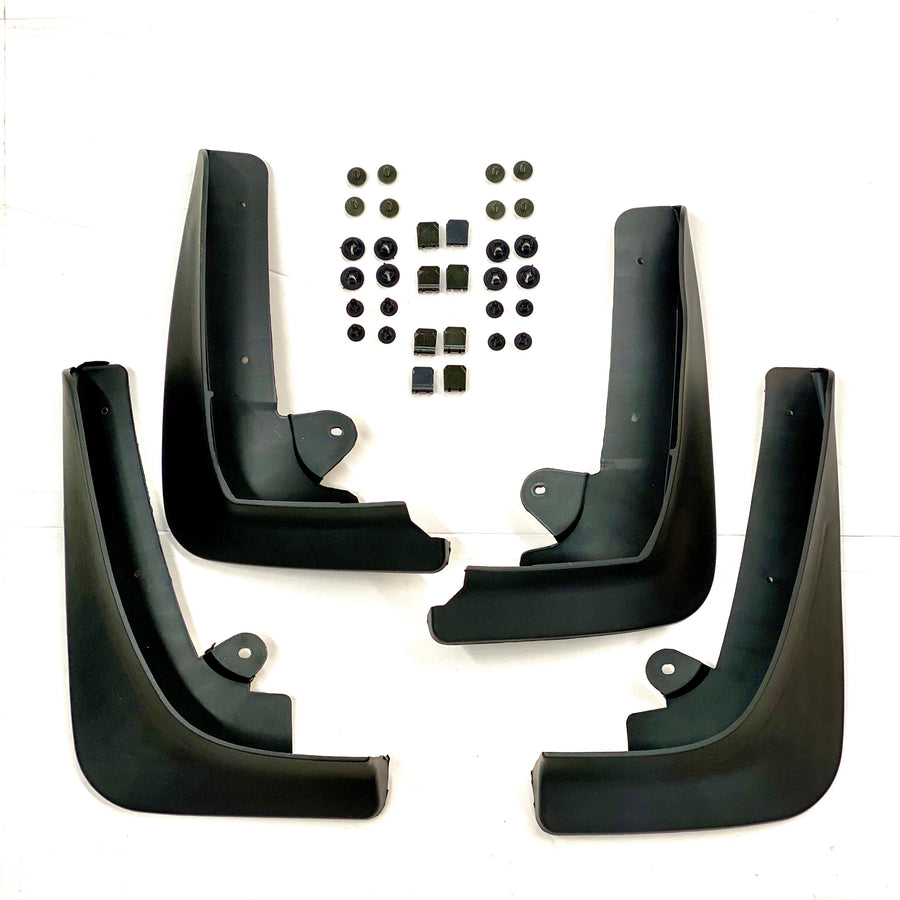
Model 3 Mud Flaps Screwless - Glossy Carbon Fiber Look - (Set of 4)
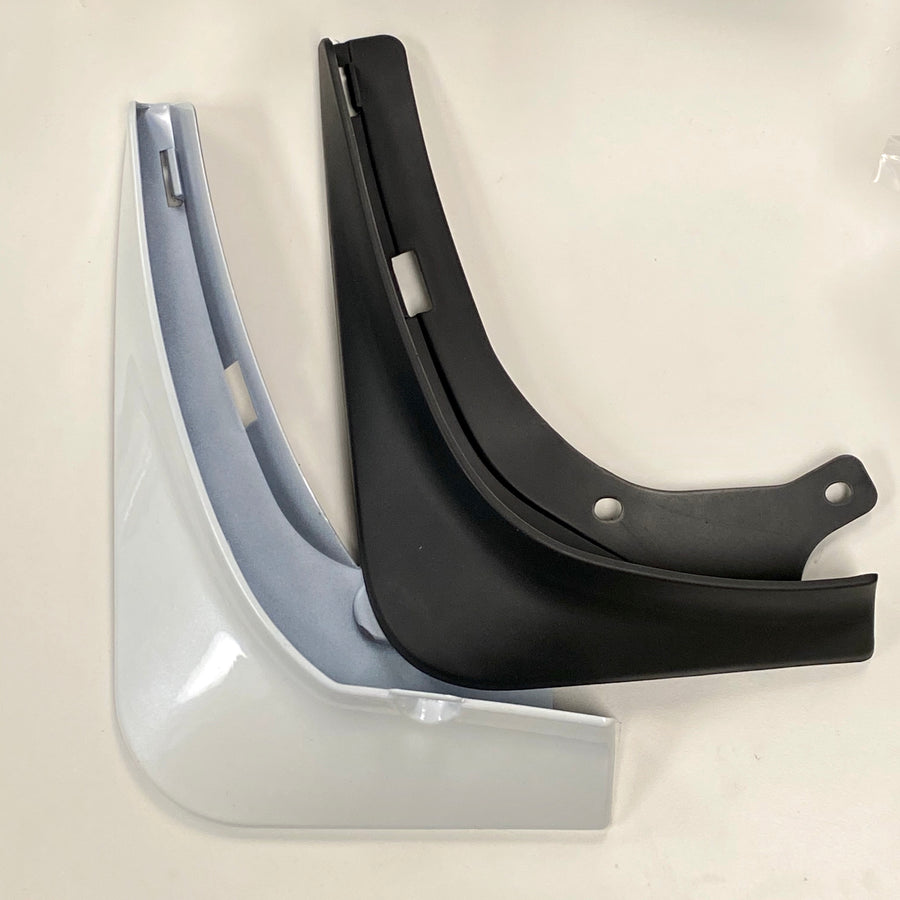
Carbon Fiber Look Mud Flaps - No Screws or Tapping Custom-molded for Tesla Model 3, and we include all 4 Mud Flaps and the press in plastic grommets. No screwing or tapping is required, and these hold in place with only grommets. No screwing or drilling at all. Protect your Model 3 's doors and rear quarter panels
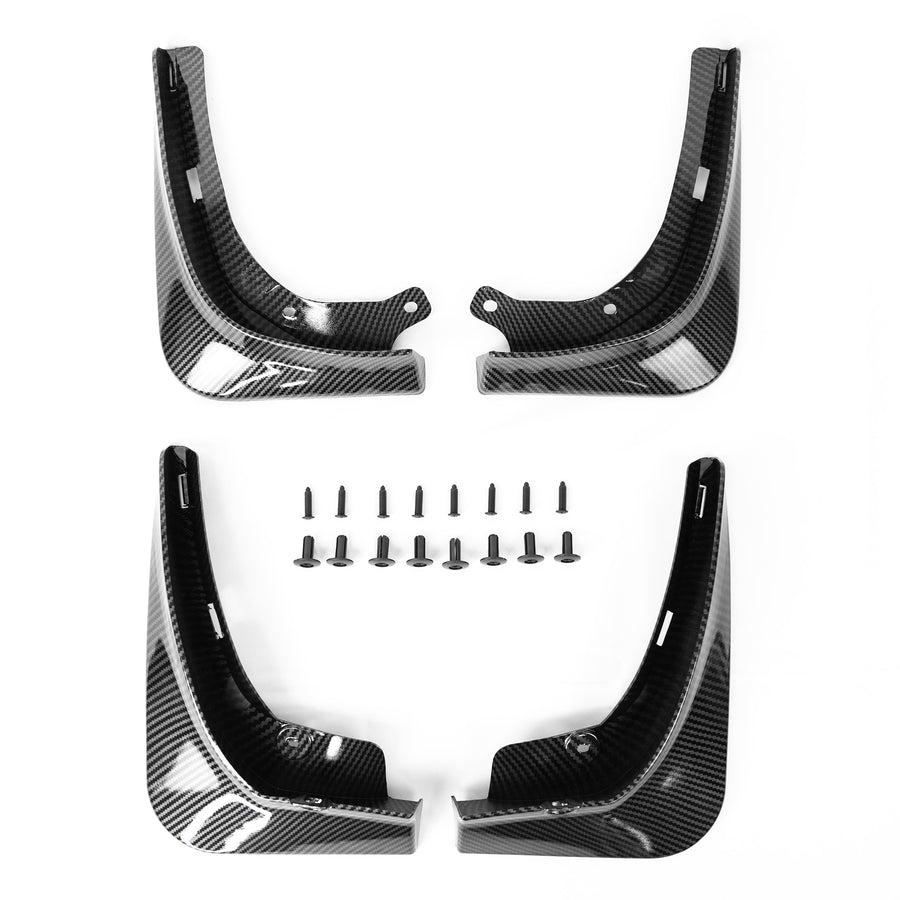
Carbon Fiber Look Mud Flaps - No Screws or Tapping
Custom-molded for Tesla Model 3, and we include all 4 Mud Flaps and the press in plastic grommets. No screwing or tapping is required, and these hold in place with only grommets. No screwing or drilling at all.
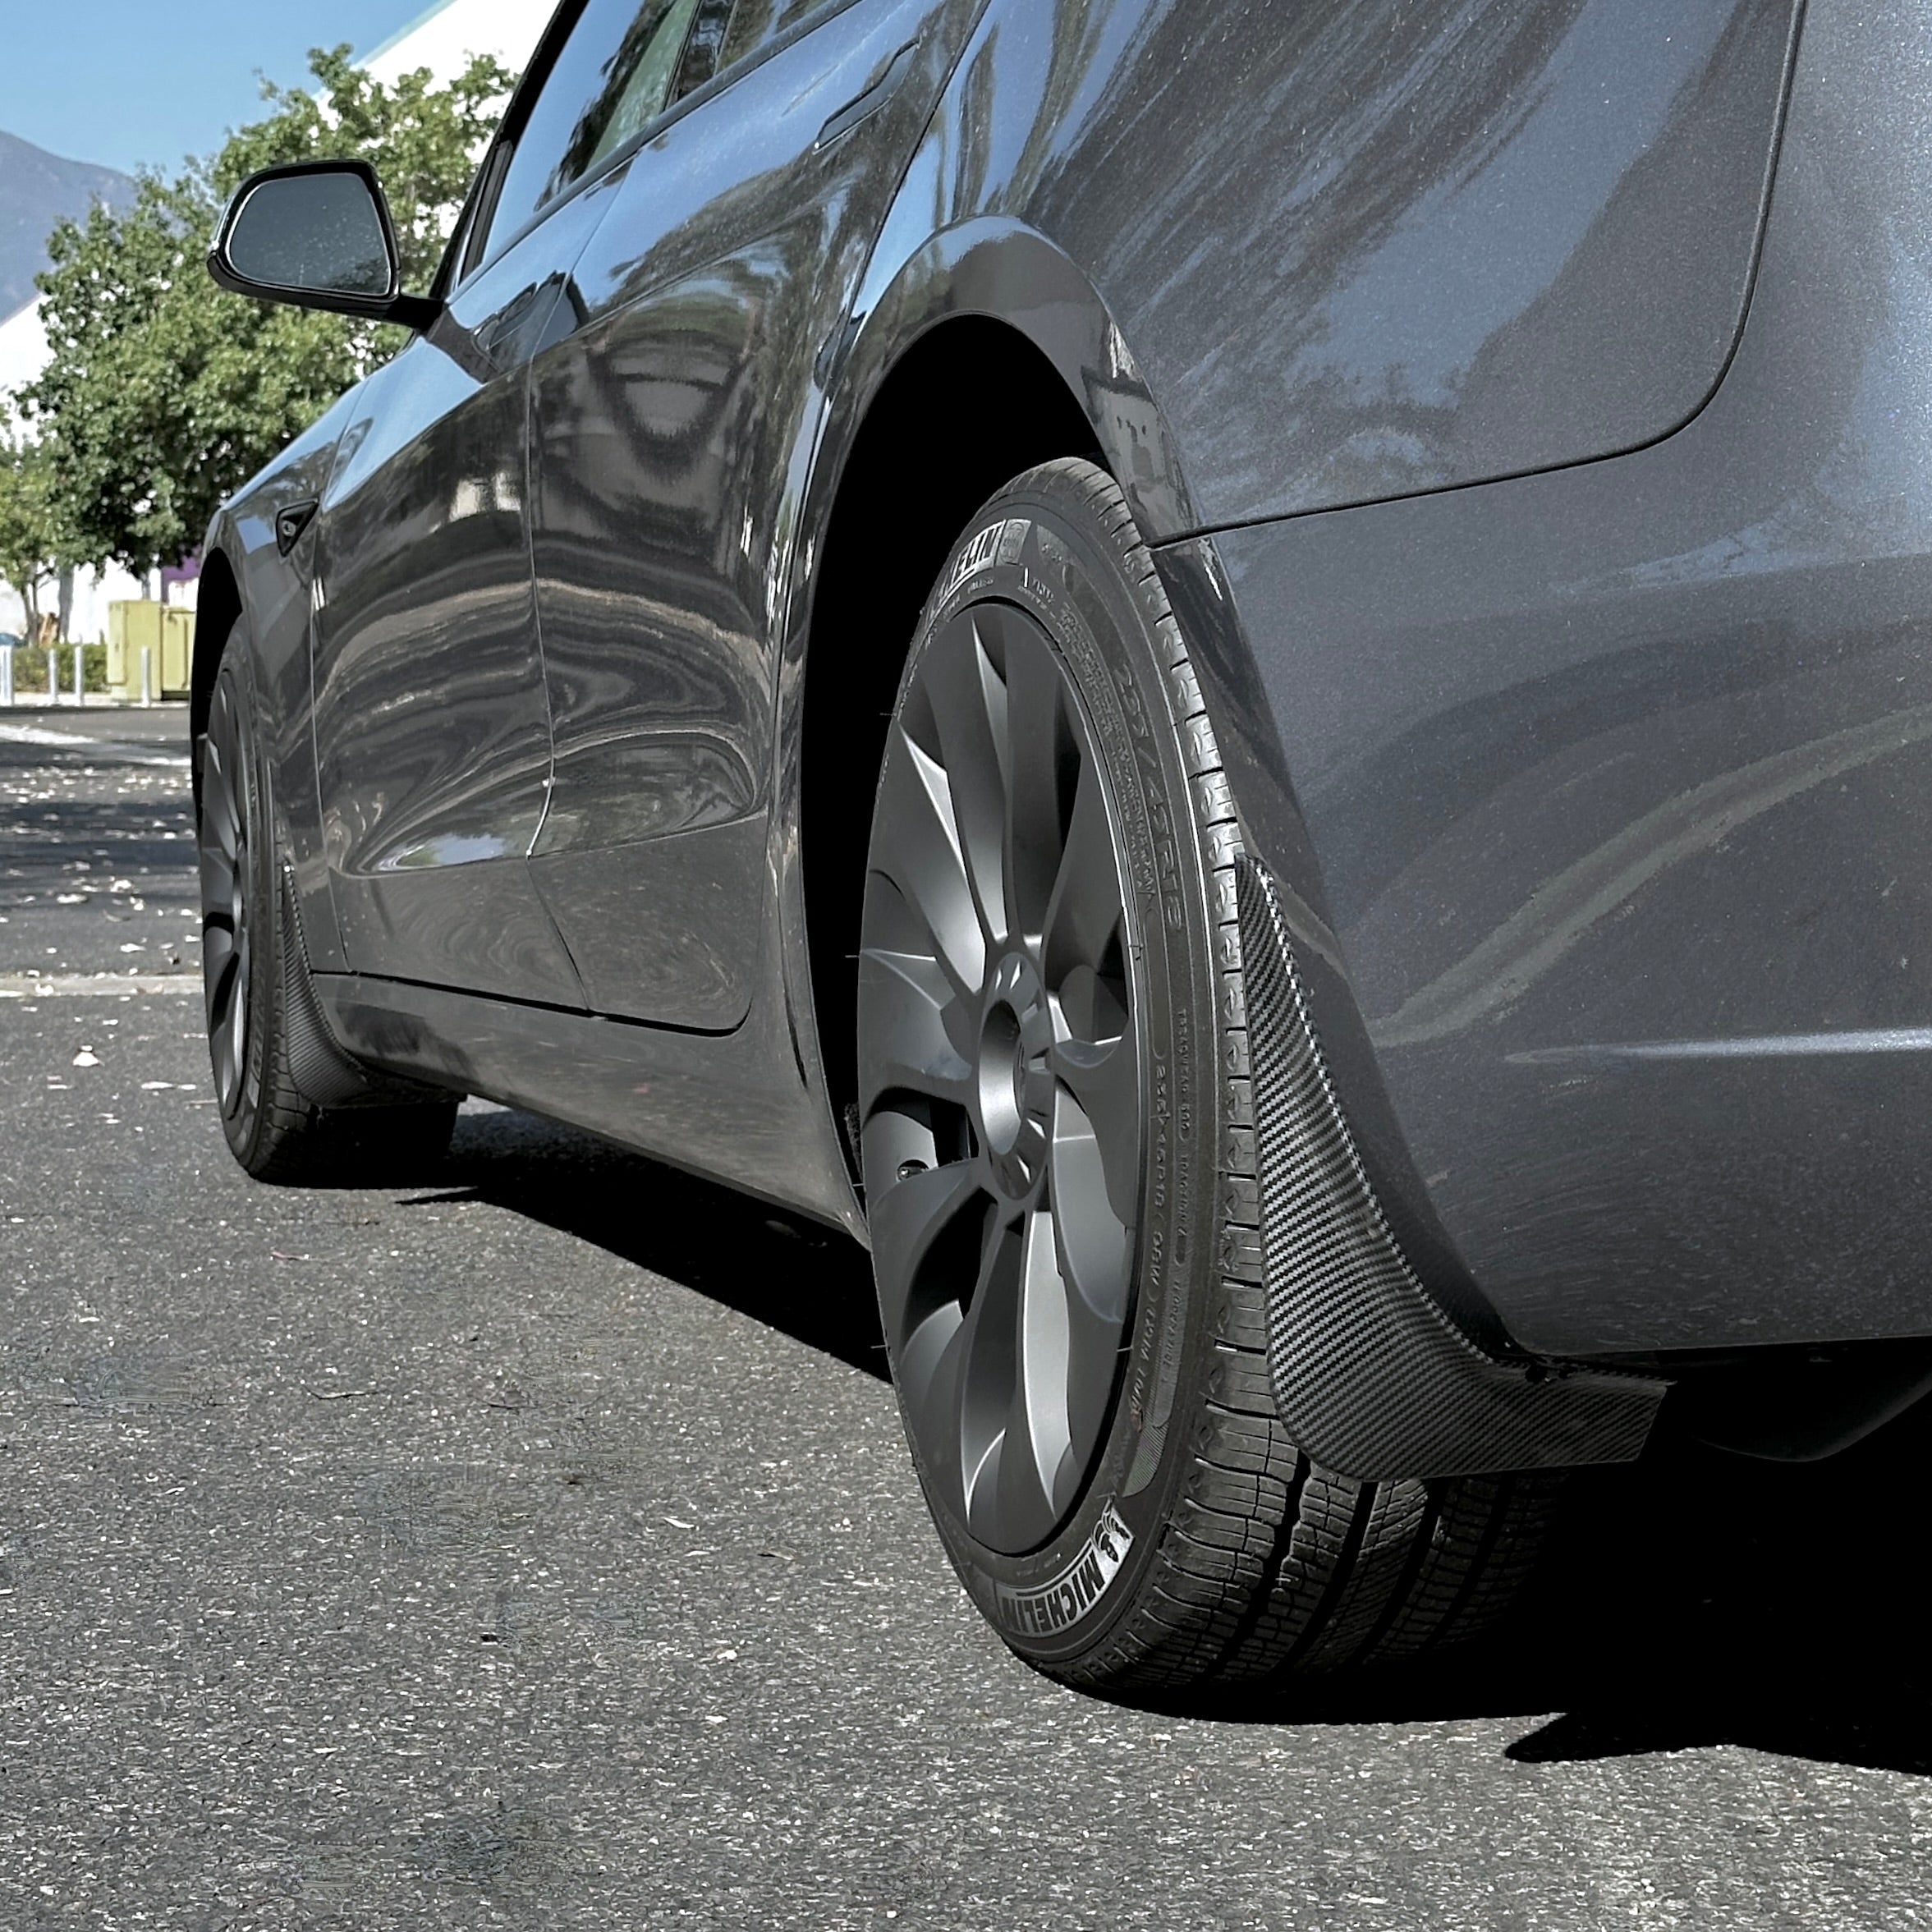
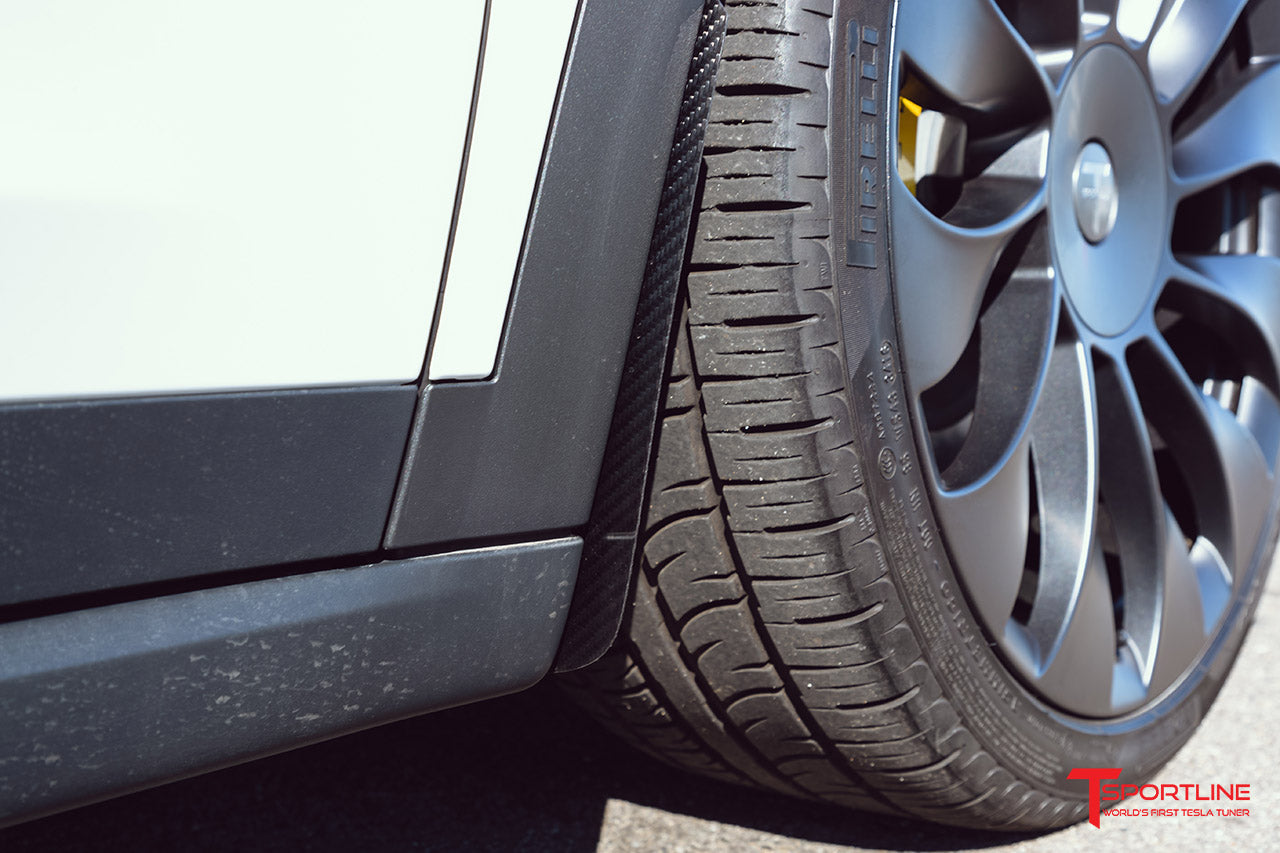
Protect your Model 3 's doors and rear quarter panels from road debris. Our mud flaps are not oversized and do not look gaudy like some. They are sleek and low profile with an OEM look.
They are made from impact-resistant ABS plastic and then are hydro-dipped to provide the carbon fiber pattern. Lastly, they are painted with a glossy finish.
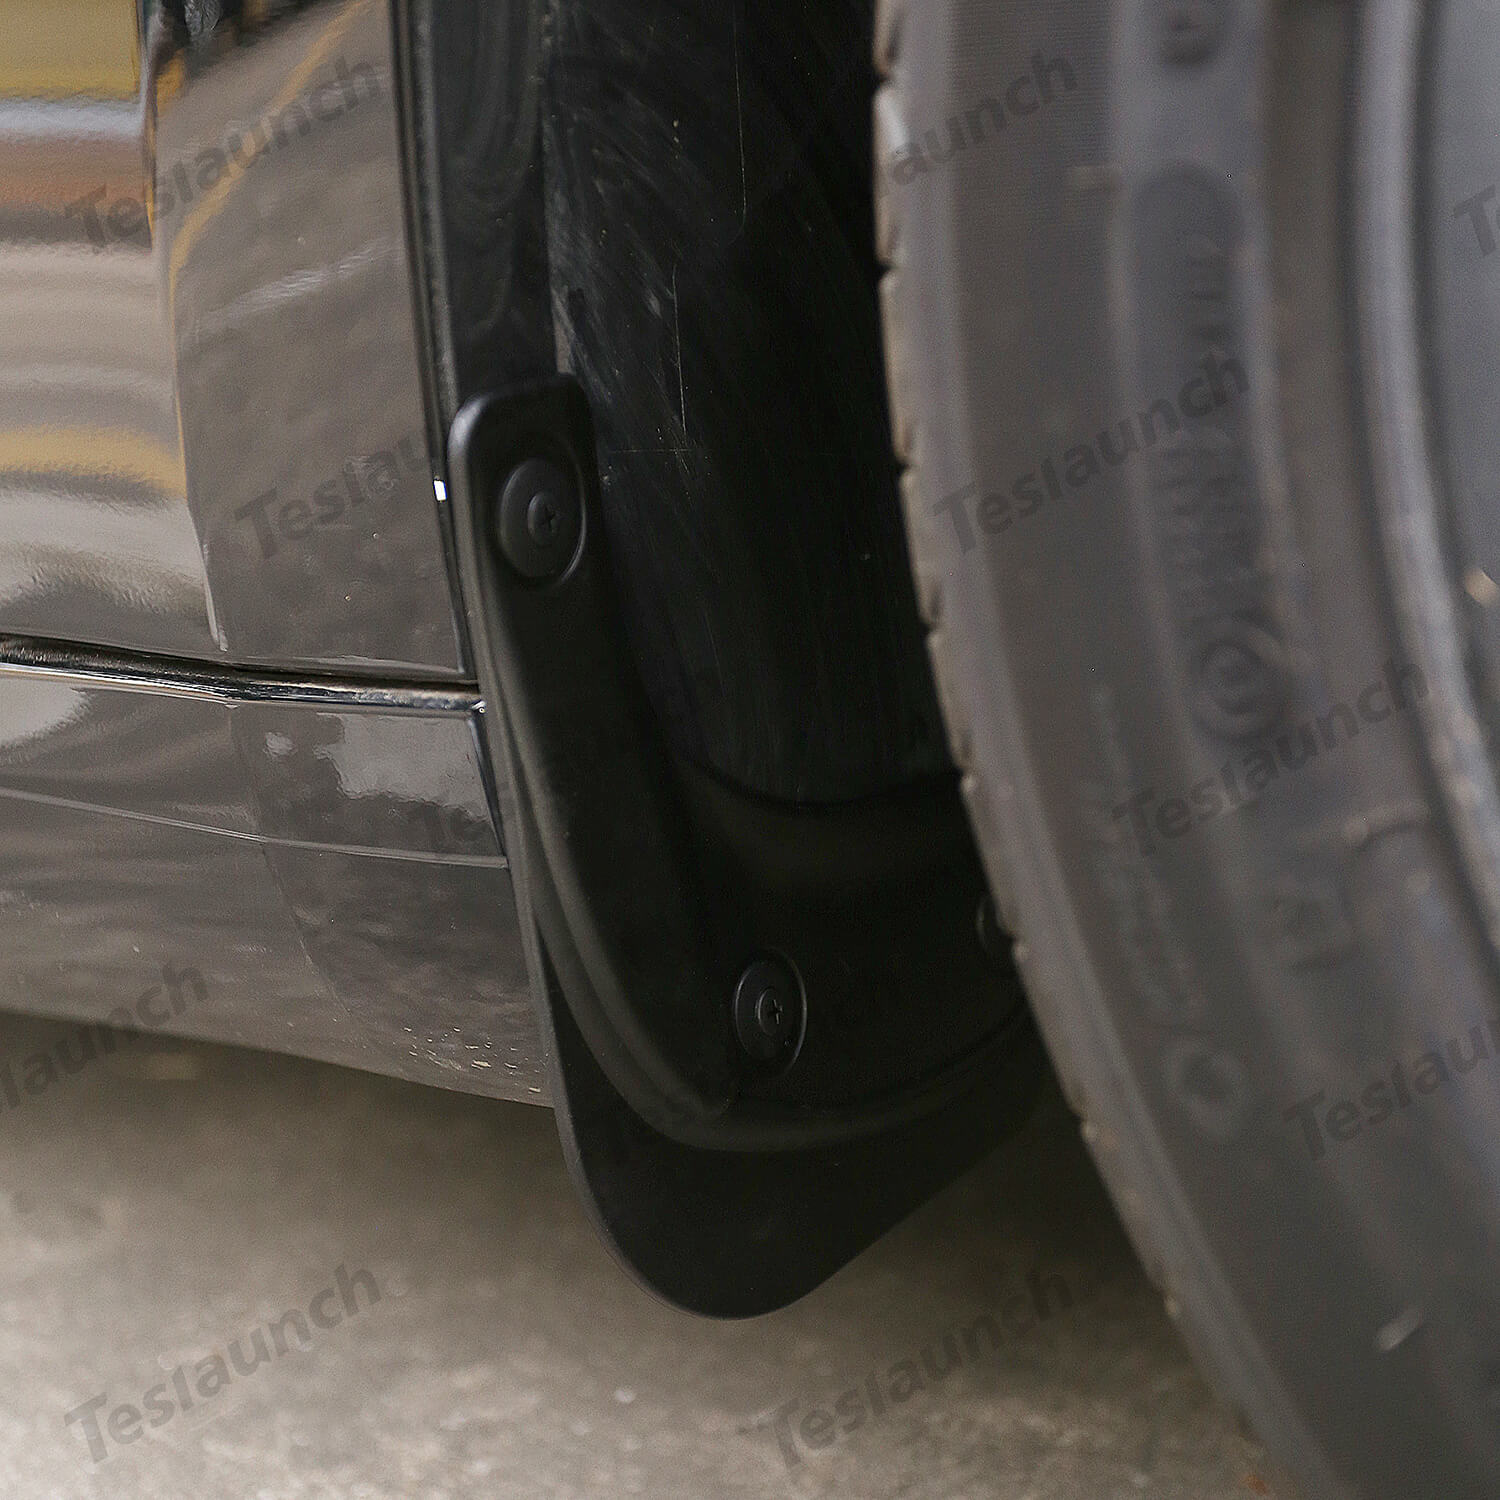
No tools are needed to install except a 10mm socket to hold the rear mud flap in place.
To install the mud flaps, you simply remove the stock plastic grommets that hold the fender wheel liner in place, position the mud flap, and press in our longer plastic grommets into the existing holes. On the rear, there is one bolt to remove the mud flaps from under the car on newer Model Y's, but you place the same OEM bolt back in to secure the mud flaps. Super easy!Front Mud Flap Adjustment: Some front fender liners are not assembled the same way as others. If you have a gap between the front mud flap and the fender liner, please check the Front Mud Flap Adjustment videos on how to remove it.Just place the rear mud flap in place and locate the downward-facing bolt just under the back fender liner. The bolt will be covered by the mud flap's plastic tab so you can identify it. Then just unscrew the bolt, but as you unscrew the bolt, If you feel the tension increasing we suggest you use lubricating oil on the threads to ensure you do not break the nut from the welded location on the metal frame. There is a new video on the above tab labeled HELP and here is a LINK.Once you have the bolt screwed back in and you have placed the mud flap, do not over-tighten the bolt or you can crack the plastic tab. This will hold the mud flap in place better than the plastic grommet.To install the front mud flaps, you simply remove the stock plastic grommets that hold the fender wheel liner in place, position the mud flap, and press in our longer plastic grommets into the existing holes. For the back wheels, you use one of TESLA's existing bolts in the lower plastic hole.
DEMO & INSTALLATION VIDEO
Carbon Fiber Look Mud Flaps - No Screws or Tapping Custom-molded for Tesla Model 3, and we include all 4 Mud Flaps and the press in plastic grommets.

Model 3 Mud Flaps Screwless - Glossy Carbon Fiber Look - (Set of 4)
2015-2021 Model X Mud Flaps Screwless (Set of 4)
Model 3 Mud Flaps Screwless - Glossy Carbon Fiber Look - (Set of 4)

Model X Colossal Rear Replacement Diffuser Real Dry Molded Carbon

BASENOR Tesla Model Y Mud Flaps Splash Guards 2020
Model 3 Mud Flaps Screwless (Set of 4)

For Tesla Model 3 2017-2023 Carbon Fiber Mud Flaps Fender Wheel

For Tesla Model 3 2017-2023 Carbon Fiber Mud Flaps Fender Wheel

Wocch Mud Flaps for Tesla Model 3 2016-2023 Splash

Baung Tesla Model 3 Mud Flaps Splash Guards No Need to Drill Holes 2021 2022 2023 Upgraded (Set of Four) Model 3 Fender Mud Guard Accessories
Tesla Model X Carbon Fiber Mud Flaps (Set of 4) - T Sportline